sleepychat guide
How to animate multi-stream alerts in SleepyChat
SleepyChat lets you build one alert system for Twitch, Kick, YouTube, and TikTok, then animate those multi-stream alerts inside the same editor. This guide covers the two main ways to animate a Widget in SleepyChat, when to use each one, and how to preview the result before you go live.

Two ways to animate
Quick animation
Use the Animate tab when you want a fast, clean motion without spending much time. This is the easiest way to add a simple fade, reveal, zoom, bounce, or other entrance/exit effect.
Timeline animation
Use the timeline when you want more control over exactly when things move, how long they stay on screen, or how multiple changes should happen over time.
If you are new to the editor, start with a quick animation first. Move to the timeline when you want more precise control.
Step 1: Select the element you want to animate
Animation is applied to the selected element, not the whole Widget by default. Click the text, image, shape, or other item you want to move. If it is hard to click on the canvas, select it from the Layers panel instead.
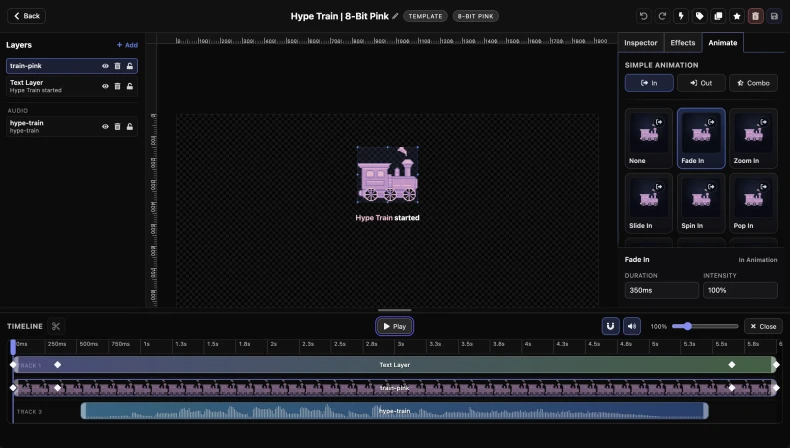
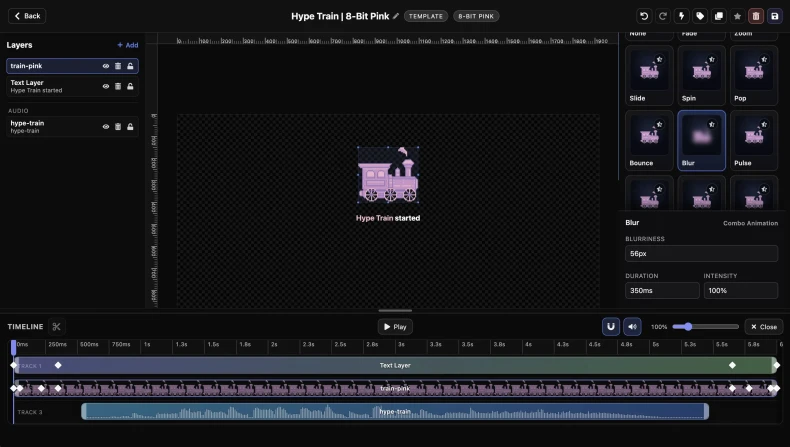
Step 2: Open the Animate tab and choose a motion
The Animate tab gives you ready-made movement options. Choose the style you want, preview it, and decide whether it should happen when the element comes in, goes out, or both.
A good starting point is a simple fade, reveal, or zoom. Those are easy to read on stream and usually work better than something overly busy.
What do In, Out, and Combo mean?
- In: the motion that plays when the element first appears.
- Out: the motion that plays when the element leaves.
- Combo: a matched pair that gives you both an entrance and an exit style together.
If you are not sure what to pick, start with an In animation only. It is the easiest way to make an alert feel polished without overcomplicating the timing.
Step 3: Open the timeline when you want more control
The timeline is where you control when things happen. If your alert needs more than a quick entrance or exit, open the timeline and use it to decide when movement starts, how long it lasts, and how it lines up with the rest of the Widget.
Positioning sounds in the timeline
Sounds sit on the timeline just like visual clips. Move a sound clip earlier if you want it to hit right as the alert begins, or drag it later if it should land after the text or image has already appeared.
This is useful for things like a whoosh on the entrance, a hit sound when a badge lands, or a stinger that plays after the main visual has settled. If the timing feels off, you usually do not need to rebuild anything. Just slide the clip forward or backward until it lines up.
Regular sound clips can also be trimmed in the timeline. That makes it easy to use just the part you want instead of the whole file.
How Text-To-Speech works on the timeline
Text-To-Speech also appears as its own clip in the timeline, so you can place it earlier or later depending on when you want the voice to start. That makes it easy to line spoken words up with text, images, or other sounds in the same alert.
The main difference is that a Text-To-Speech clip is not something you manually trim or split. SleepyChat measures the synthesized preview audio and uses that to set the clip length for you.
In practice, that means the duration updates when the spoken result changes, such as when you edit the message, change the voice, or adjust the speaking rate. You mainly choose when the clip starts, and SleepyChat handles how long it needs to be.
What is a keyframe?
A keyframe is just a saved point in time. It tells SleepyChat what a property should look like at one moment, then the editor fills in the motion between those saved points.
For example, you might save one point where text is small and another point where it is larger. SleepyChat then creates the growth between those two points.
How to add a keyframe
Move the playhead in the timeline to the moment you want to save. Then go to the property section you want to animate and insert a keyframe for that section. After the keyframe exists, change the value you want at that moment in time.
For example, you might move the playhead to the start of the alert and save a keyframe where the element is lower and transparent. Then you move the playhead later and change the same element so it is higher and fully visible. SleepyChat will tween between those two saved points.
The important part is this: move the playhead first, then save or edit the keyframe for the section you care about.
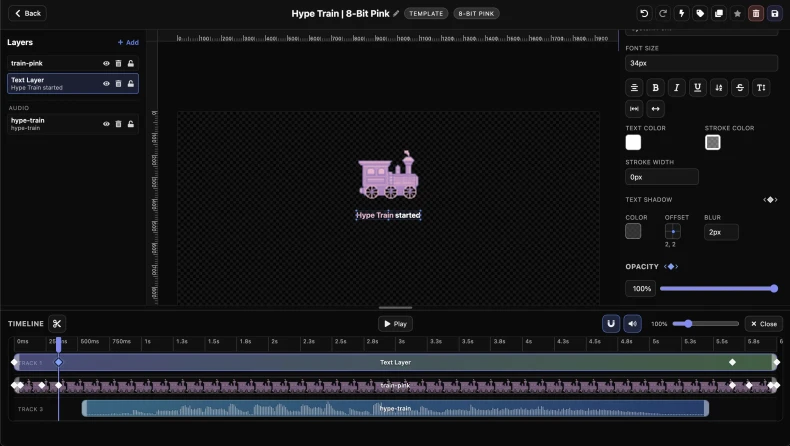
Which properties can keyframes control?
Any section with keyframe support can save its values over time. In practice, this means you can animate the properties that make the biggest visual difference:
- Position: move elements left, right, up, or down.
- Rotation: turn text, images, or shapes as the alert plays.
- Scale and size: make something grow, shrink, or stretch.
- Opacity: fade something in or out.
- Filters and distortion: change blur, brightness, skew, and similar effects over time.
- Audio properties: where supported, change things like volume over time so sound or Text-To-Speech can ease in or out more smoothly.
The exact controls depend on what type of element you selected, but the workflow is the same: pick a time, save the keyframe for that section, then change the values you want.
Using keyframes in the Inspector and Effects panels
Think of each keyframe-enabled section as its own little animation lane. If you are working in Transform, you are animating things like position, size, and rotation. If you are working in Filters or Distortion, you are animating how the element looks.
A common pattern is to combine them. For example:
- Use Transform keyframes to slide text upward.
- Use Opacity keyframes to fade it in at the same time.
- Use Filter keyframes to sharpen or blur it as it arrives.
This is how you build richer motion without needing a separate animation tool. Each section controls its own properties, and all of them can work together on the same timeline.
Step 4: Move, copy, and reuse keyframes
Once keyframes exist, you can move them around on the timeline to change when something happens. Dragging a keyframe earlier makes the change happen sooner. Dragging it later delays that change.
You can also copy keyframes when you want to reuse the same timing or value change somewhere else in the clip. This is useful when you want a matching entrance and exit rhythm, or when several elements should move in a similar way without rebuilding the motion from scratch each time.
Work in small passes. Insert one or two keyframes, move them into place, preview the result, then refine from there. That is much easier than trying to build the perfect animation in one go.
Use the timeline to line everything up
The real power comes from combining these pieces. You might have text slide in first, a sound hit a moment later, and then a Text-To-Speech clip begin once the viewer has had a second to see the alert on screen.
Think of the timeline as the place where you stage the whole moment. Visual clips, sounds, and spoken audio do not have to start at the same time. Staggering them often makes alerts feel cleaner and easier to follow.
What tweening means in practice
Tweening is the motion that happens between keyframes. You save the start and end values, and SleepyChat creates the in-between movement for you.
That means you do not need to create a keyframe for every tiny step. If position, rotation, opacity, or another property changes between two saved points, the editor will animate the transition automatically.
Step 5: Preview the animation
Use the editor playback controls to watch the motion before you save. This helps you catch awkward timing, overlaps, or moments where something moves too fast to read clearly.
If the motion looks good in the editor, test the full Widget in the Overlay so you can see it in a more realistic layout.
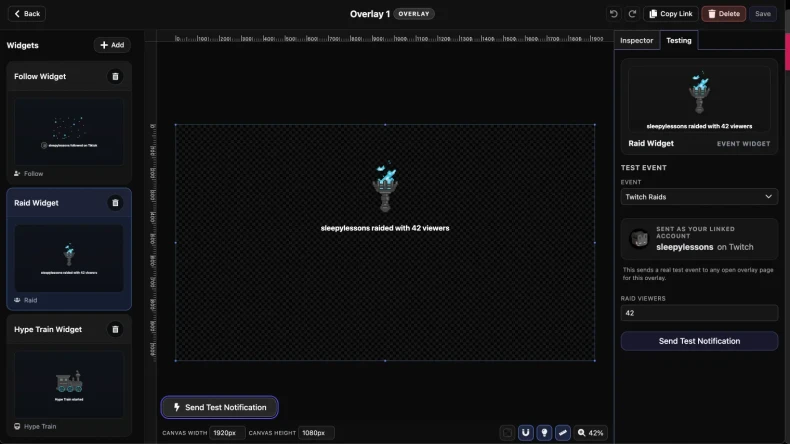
Step 6: Send a test event
A test event is the closest thing to a real run before going live. It lets you see the animation in the Overlay and check that the whole Widget feels right in context, not just in the editor.
This is especially important when you have text, sound, and multiple moving pieces happening together.
Helpful animation habits
- Start simple. Clean motion usually reads better on stream than something too busy.
- Preview often. Small preview checks save time and keep timing mistakes from piling up.
- Protect readability. If text is hard to read while moving, slow it down or simplify the effect.
- Animate only what matters. Position, rotation, size, and opacity usually do more for clarity than throwing every effect on at once.
Back to setup
If you still need the bigger picture of how Widgets and Overlays fit together, go back to the setup guide. That guide covers the full workflow from creating a Widget to placing it in an Overlay and adding it to OBS.